DIY iPhone 15 Pro Back Glass Replacement: A Step-by-Step Guide from a iRepair Experts
The iPhone 15 Pro is undoubtedly a remarkable piece of technology, known for its sleek design and advanced features. However, accidents happen, and one common issue users may encounter is damage to the back glass of their device. Whether it’s a crack, chip, or shattered glass, dealing with such damage can be frustrating. In this guide, we’ll explore the process of replacing the back glass of an iPhone 15 Pro, drawing insights from mobile experts to ensure a smooth and successful repair.
Understanding the Importance of Back Glass Replacement: The back glass of the iPhone 15 Pro serves both functional and aesthetic purposes. It protects the internal components of the device while also contributing to its overall design and appeal. Damage to the back glass not only compromises the device’s structural integrity but can also lead to further issues if left unaddressed. Therefore, timely replacement is crucial to maintain the device’s functionality and appearance.
If you’ve ever dropped your iPhone 15 Pro and found yourself staring at a shattered back glass, don’t worry, you’re not alone. Accidents happen, but luckily, you can replace the back glass of your iPhone 15 Pro yourself with the right tools and guidance. In this comprehensive guide, we’ll walk you through the process step-by-step, ensuring a successful repair and a pristine-looking device once again.
Before You Begin:
Before diving into the repair process, it’s crucial to gather the necessary tools and materials. Here’s what you’ll need:
- iPhone 15 Pro back glass Replacement
- Heat gun or hairdryer
- Precision screwdriver set
- Suction cup
- Plastic pry tools
- Tweezers
- Adhesive strips or glue
Step 1: Preparation
Begin by powering off your iPhone 15 Pro to avoid any potential damage during the repair process. Lay a clean, soft cloth on your work surface to prevent scratching the device.
Step 2: Heat the Back Glass
Use a heat gun or hairdryer to gently heat the back glass of your iPhone. This will soften the adhesive, making it easier to remove the glass. Be cautious not to overheat the device, as excessive heat can damage internal components.
Step 3: Remove the Broken Glass
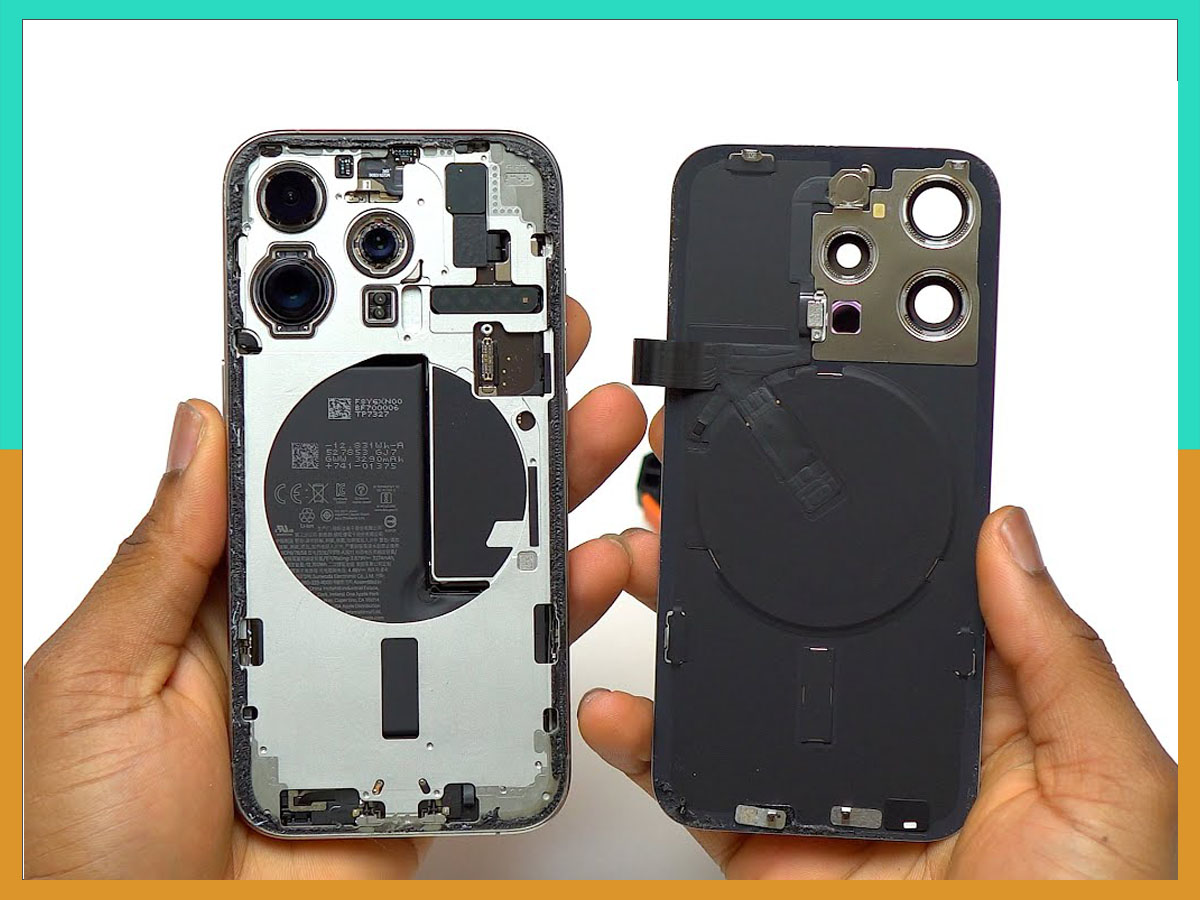
Once the adhesive has been sufficiently softened, place a suction cup near the bottom edge of the back glass. Apply steady pressure while simultaneously inserting a plastic pry tool between the glass and the frame of the iPhone. Slowly slide the pry tool along the edges to loosen the adhesive and carefully lift off the broken glass.
Step 4: Clean the Frame
With the broken glass removed, use a soft cloth and isopropyl alcohol to clean any remaining adhesive residue from the frame of the iPhone. Ensure that the surface is completely clean and dry before proceeding.
Step 5: Install the Replacement Glass
Carefully align the replacement back glass with the frame of the iPhone, ensuring that all edges are flush. Once aligned, gently press down on the glass to secure it in place.
Step 6: Apply Adhesive
If your replacement back glass does not come with pre-applied adhesive, you’ll need to apply adhesive strips or glue to the frame of the iPhone. Follow the manufacturer’s instructions for proper application.
Step 7: Reassemble Your iPhone
Once the adhesive is applied, reassemble your iPhone by following the steps in reverse order. Be sure to tighten any screws securely and verify that all components are properly seated.
Step 8: Test Your iPhone
Before fully sealing your iPhone, power it on and test all functions to ensure everything is working correctly. Check the camera, speakers, and wireless charging to confirm that there are no issues.
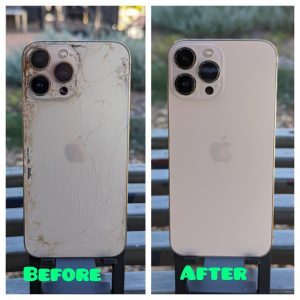
Congratulations! You’ve successfully replaced the back glass of your iPhone 15 Pro. With a bit of patience and the right tools, you can restore your device to its former glory without breaking the bank. If you encounter any difficulties during the repair process, don’t hesitate to seek assistance from a professional technician.
Conclusion: Replacing the back glass of an iPhone 15 Pro requires careful attention to detail and the right tools. By following the step-by-step process outlined in this guide and drawing insights from mobile experts, users can successfully restore their device’s functionality and aesthetics. However, if you’re uncertain or uncomfortable with performing the repair yourself, seeking assistance from a professional repair service is always a viable option. Remember, safety and precision are paramount when undertaking any DIY repair project.

Leave a Reply