iPhone 18 Pro
Screen Replacement Protocol
Technical installation steps, thermal limits, frame preparation and iOS software pairing procedures for the newest flagship OLED display.
Preparation
Required Tools
Thermal mat, Pentalobe & Tri-point screwdrivers, nylon spudger, precision tweezers, isopropyl alcohol and pre-cut waterproof adhesive.
Important
Critical Warning
The iPhone 18 Pro features a repositioned infrared camera. Damaging this flex cable during screen removal will permanently disable Face ID.
How an iPhone 18 Pro Screen Replacement Is Performed
A screen replacement is more than removing broken glass and installing another panel. Each stage has to be completed in the correct order to protect the display, battery, logic board and sensor system.
Thermal Release & Entry
Power down the device and remove the bottom pentalobe screws. Place the iPhone 18 Pro on a thermal mat at exactly 72°C for 4 minutes to soften the factory waterproof seal. Use a suction cup and an ultra-thin plastic pick to sever the adhesive perimeter.
Technician focus: Controlled heat and careful separation are essential around the display edge and internal flex cable areas.
Isolating the Power Supply
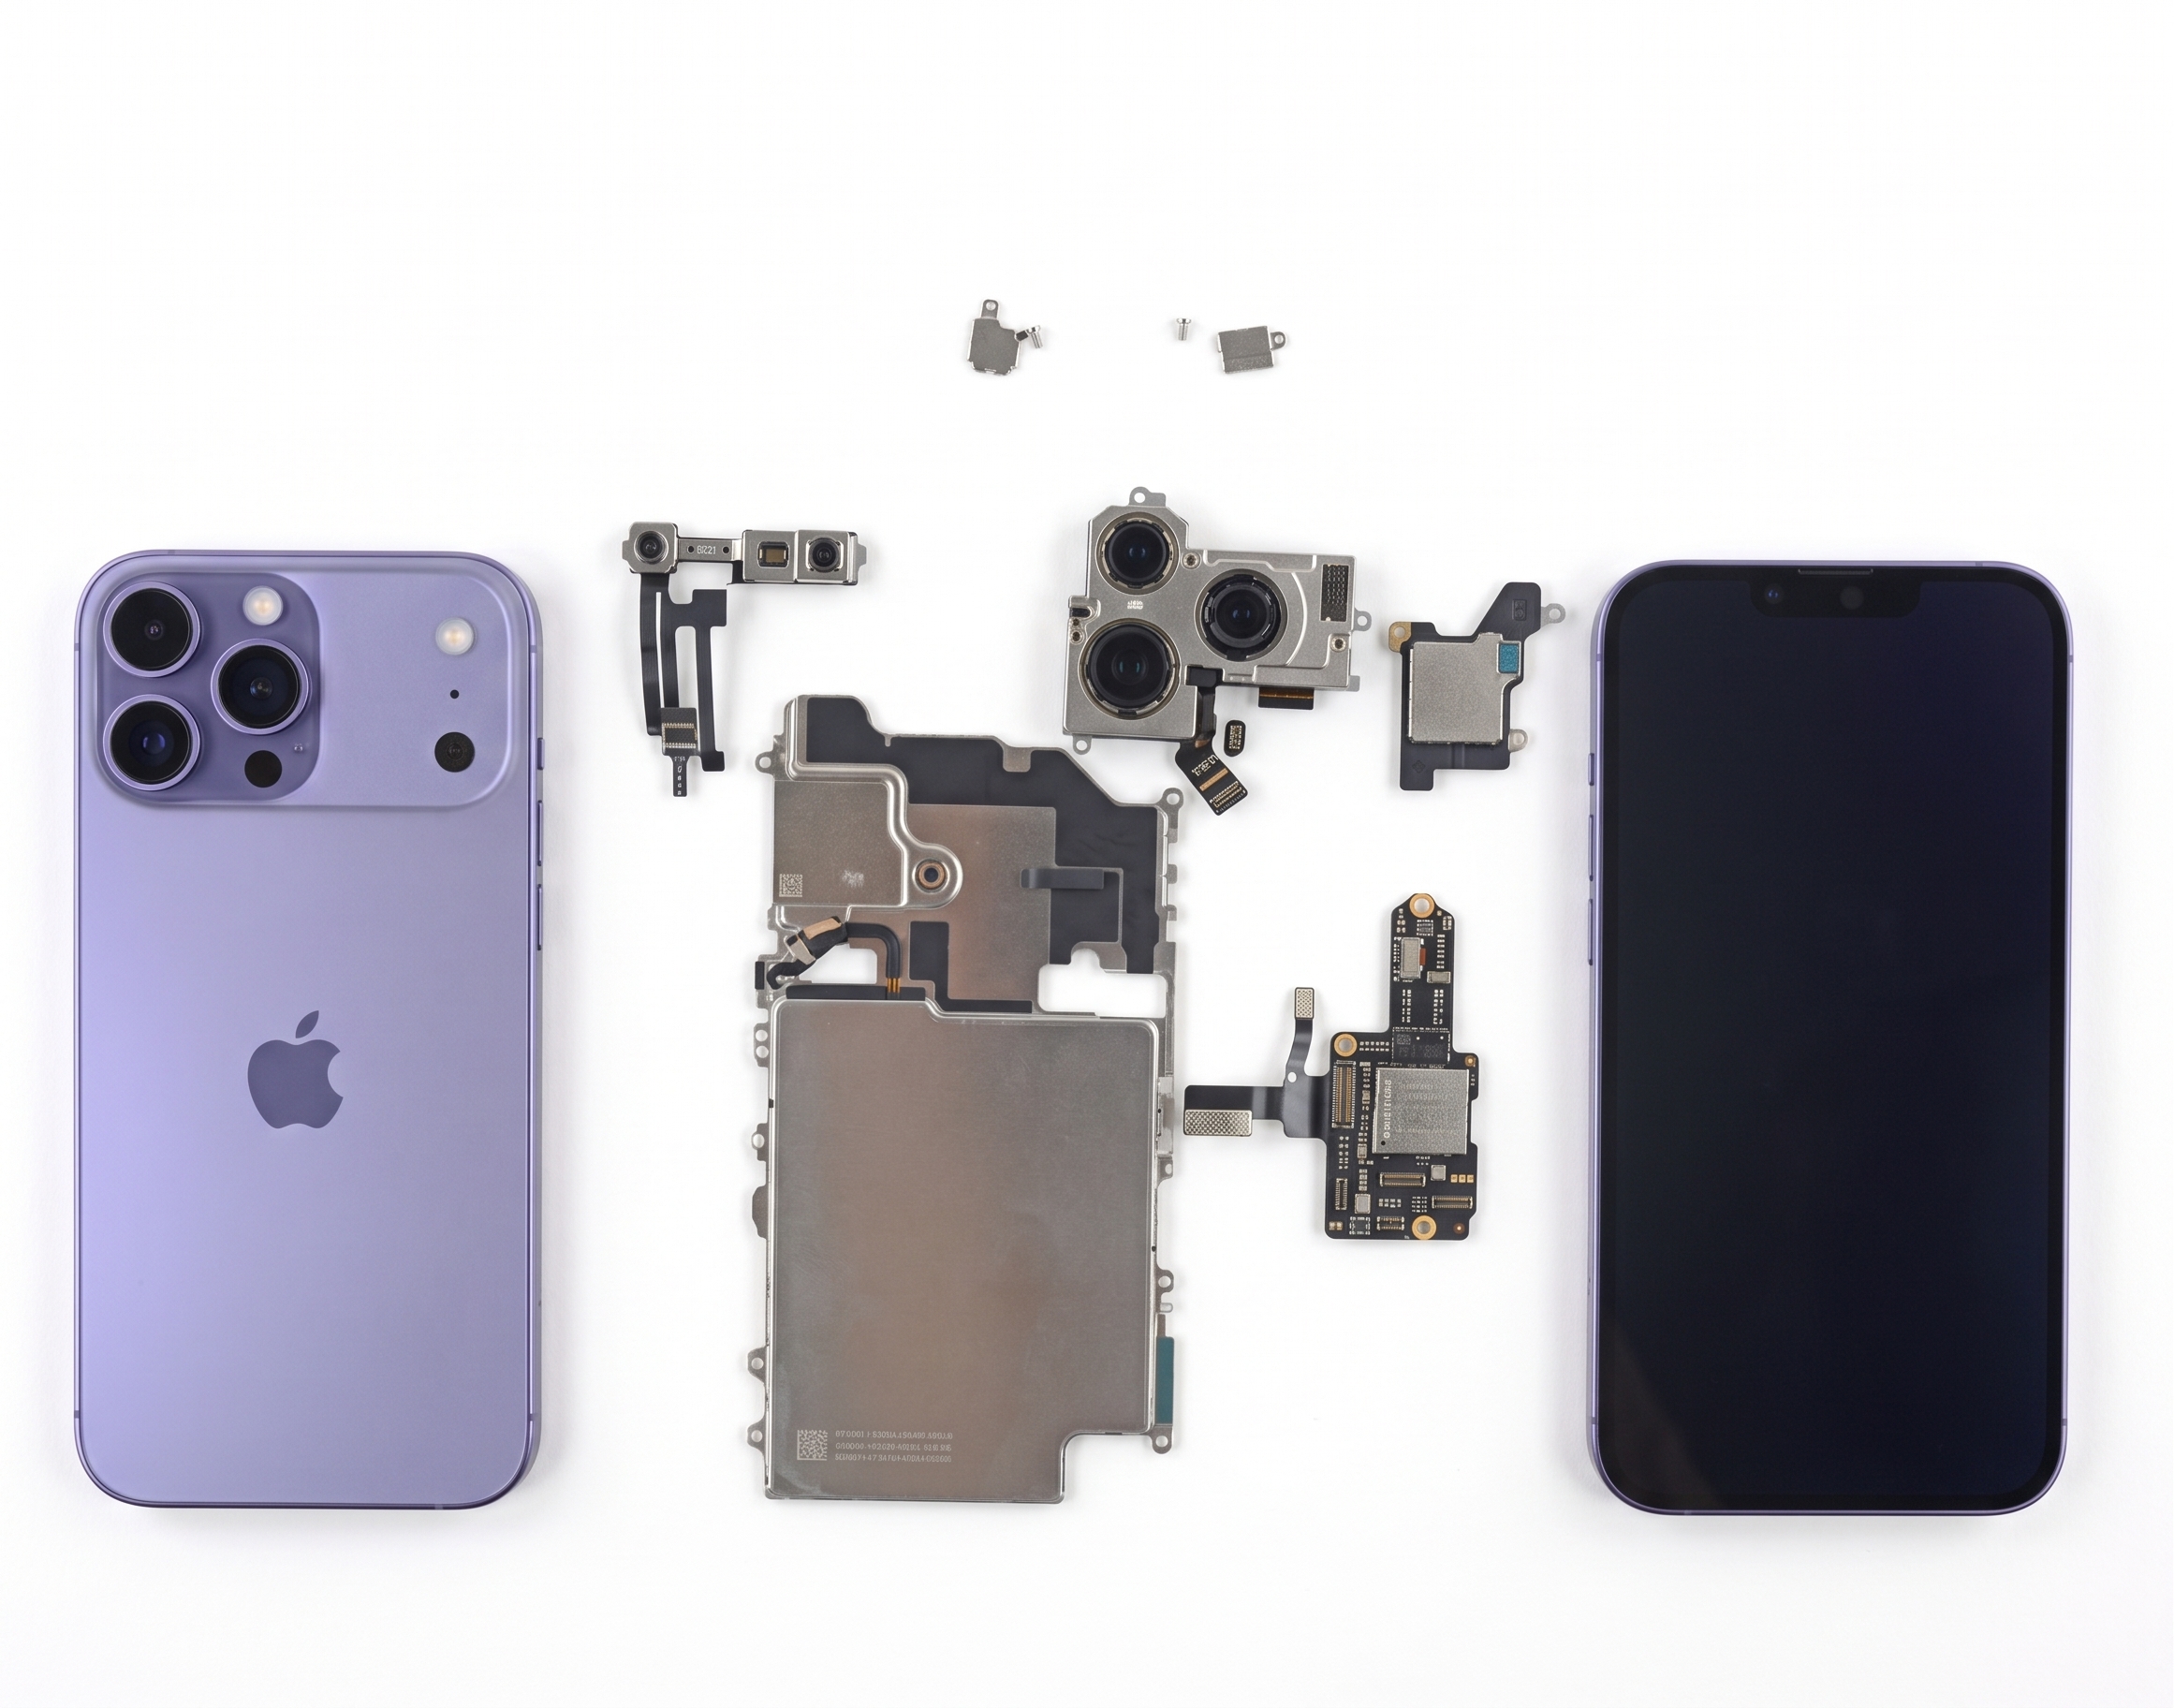
Open the display like a book. Immediately remove the logic board cowling and disconnect the battery terminal using a nylon spudger. Never touch the display flex cables while the board has active power, or a short circuit is guaranteed.
Protection Point
Battery isolation takes place before working on the display connectors to reduce the risk of electrical damage while the device is open.
Chassis Prep & Sealing
Clean the titanium frame with isopropyl alcohol to remove every trace of the old gasket. Apply a brand-new, precut waterproof adhesive strip. Connect the new OLED display's flex cables, re-secure the cowling, and carefully press the screen flush into the frame.
iOS Software Calibration
The physical installation is only half the job. Boot the device, connect to Wi-Fi, and navigate to Settings > General > About > Parts & Service History. Run the iOS Repair Assistant to pair the new screen, restoring True Tone and removing the "Unknown Part" warning.
Final Checks
Avoid the DIY Risk
The iPhone 18 Pro requires micro-precision and specialized software pairing. Damage to internal connectors, the sensor assembly, battery or display components can turn a screen replacement into a much more complex repair.
Need an iPhone Screen Repair?
Have your iPhone inspected by an experienced repair technician. Free diagnosis is available, with same-day repair options depending on parts availability and workload.
Book an iPhone RepairBook a Brisbane repair in under 60 seconds.
Same-day service, genuine-grade parts, 12-month warranty. Walk-ins welcome at Paddington · Coorparoo · Calamvale.
Book a repair