iPhone 17 Pro Screen Repair
A precision-focused guide to restoring your display to original factory standards.
Prepare & Power Down
Safety is paramount. Discharge your battery below 25% to minimize the risk of a thermal event if the battery is accidentally punctured. Power off the device completely and remove the two pentalobe security screws located beside the charging port.
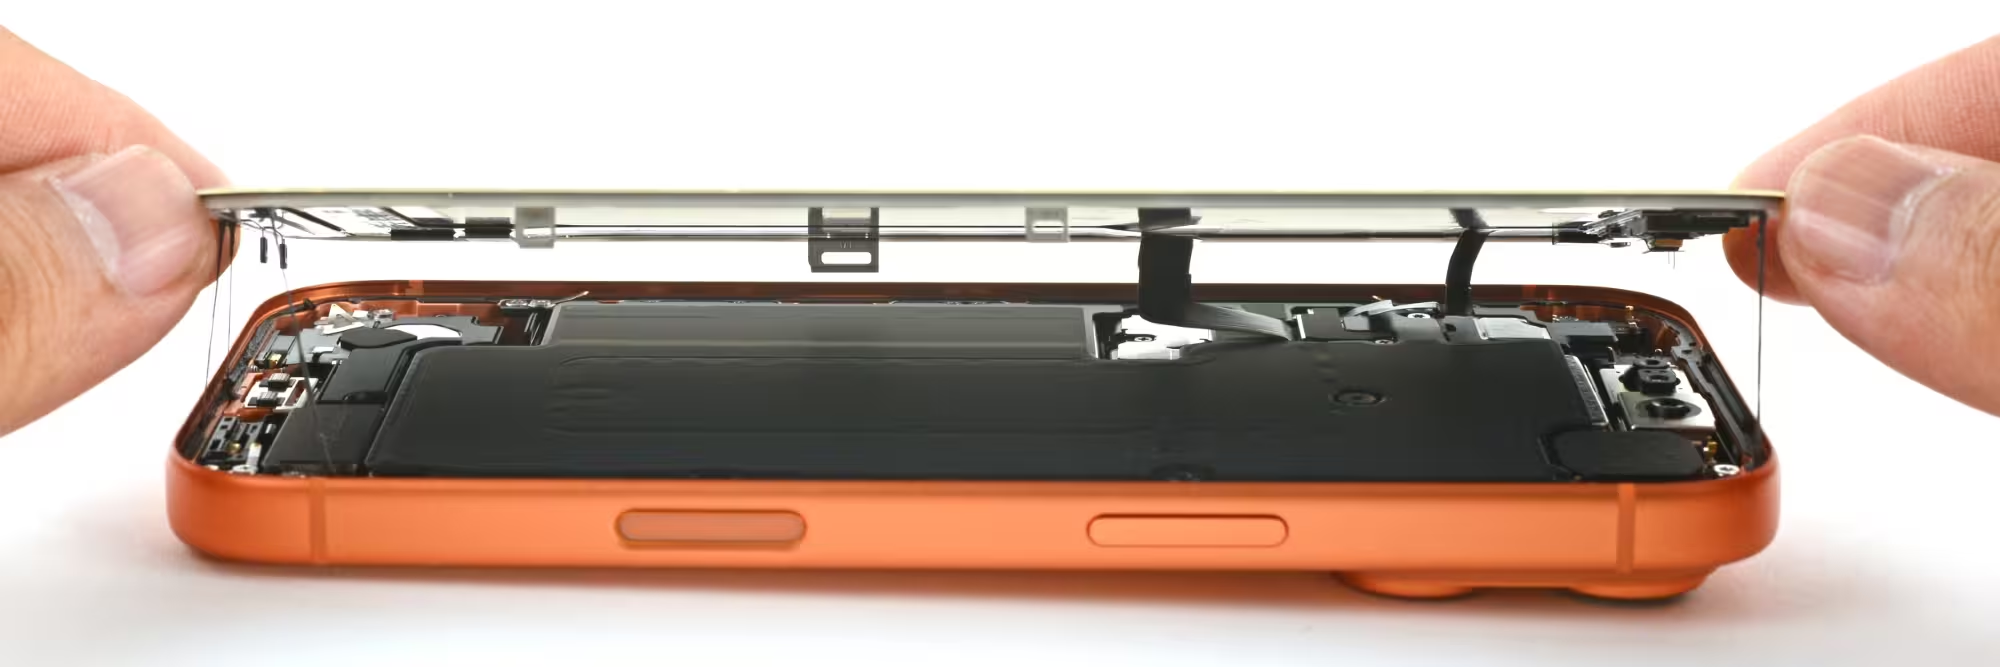
Adhesive Softening
The iPhone 17 Pro utilizes a high-strength moisture seal. Use a controlled heat source at roughly 70°C for 2-3 minutes around the screen perimeter to soften the adhesive. Use a suction cup and a thin, non-metallic opening tool to gently lift the display.
Shield & Cable Management
Once the display is lifted (hinged to the left), remove the internal EMI shield plates. These protect the delicate battery and display connectors. Use a tri-point driver to organize screws, as they vary in length and are not interchangeable.
Component Disconnection
Always disconnect the battery connector first. This is a critical step to prevent short-circuiting the logic board while handling the display connectors. Once powered down, release the OLED panel and sensor assembly cables.
Precision Transfer & Sealing
Carefully transfer the earpiece/sensor assembly to the new screen. For the final seal, apply fresh, pre-cut frame adhesive to maintain the device's IP68 water and dust resistance rating before snapping the display back into place.
Professional Tips for Success
- Screw Mapping: Use a magnetic mat to map your screws. If a long screw is accidentally placed in a short-screw hole, it can penetrate the logic board, causing permanent damage.
- Face ID Calibration: The sensor assembly is paired to your unique logic board. Never damage or replace this assembly without professional calibration, or you will lose Face ID functionality.
- Adhesive Integrity: Never reuse old adhesive. It will leave gaps that allow moisture to enter, which can lead to display corrosion within weeks.
⚠️ Risk Notice
The iPhone 17 Pro is highly complex. Attempting this repair involves working near the battery and sensitive Face ID components. Professional repair is strongly recommended to preserve the device's warranty and original functionality.
Need Expert Assistance?
Precision repair requires factory-level tools and calibration. If you want the job done right the first time, our team is here to help.
View iPhone Repair ServicesBook a Brisbane repair in under 60 seconds.
Same-day service, genuine-grade parts, 12-month warranty. Walk-ins welcome at Paddington · Coorparoo · Calamvale.
Book a repair