Device Repair Guide
Samsung S25 Ultra Screen Repair
A practical, inside look at the display replacement process for Samsung’s latest flagship powerhouse.
The Samsung Galaxy S25 Ultra is a beast of a phone, but that massive, beautiful display is also its most vulnerable point. If you’ve taken a nasty drop and ended up with a shattered screen, you're probably wondering what it actually takes to fix it. Here is a look at the repair process and why it requires a steady, experienced hand.
The Step-by-Step Replacement Process
Safety First: Power Down
Before doing anything, turn the phone off completely. If the screen is too broken to navigate, hold the power and volume down buttons to force a shutdown. Always aim to have your battery drained below 25% to minimize the risk of accidental combustion during the heat application phase.
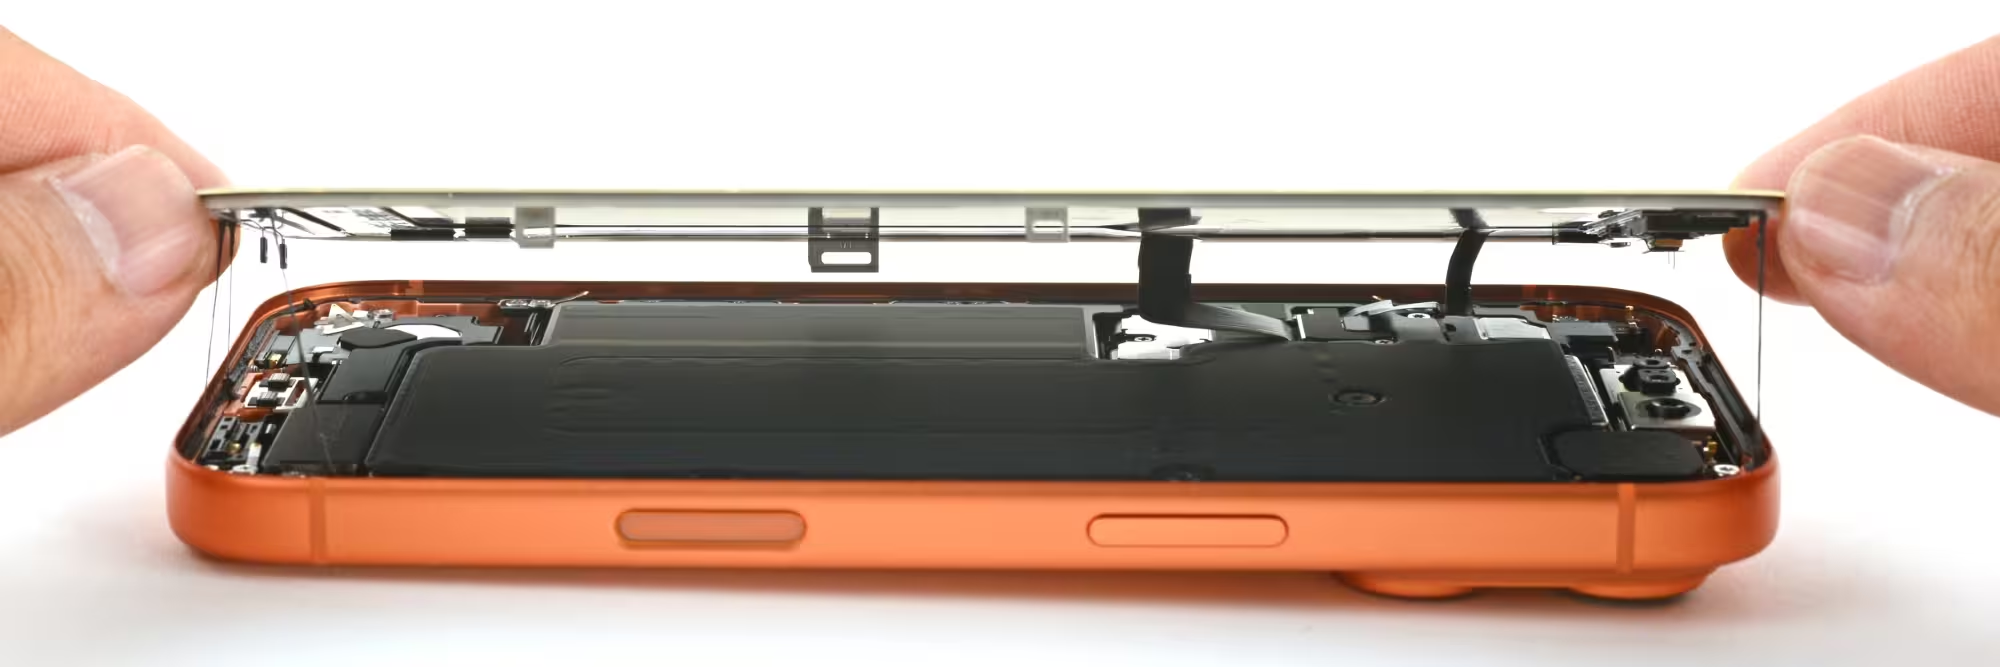
Accessing the Internals
The S25 Ultra is held together with industrial-strength adhesive. We use controlled heat around the back glass panel to soften the glue. Once warm, we use a thin suction tool and a plastic pry pick to carefully separate the back cover from the frame. This part requires patience—rushing will crack the rear glass.
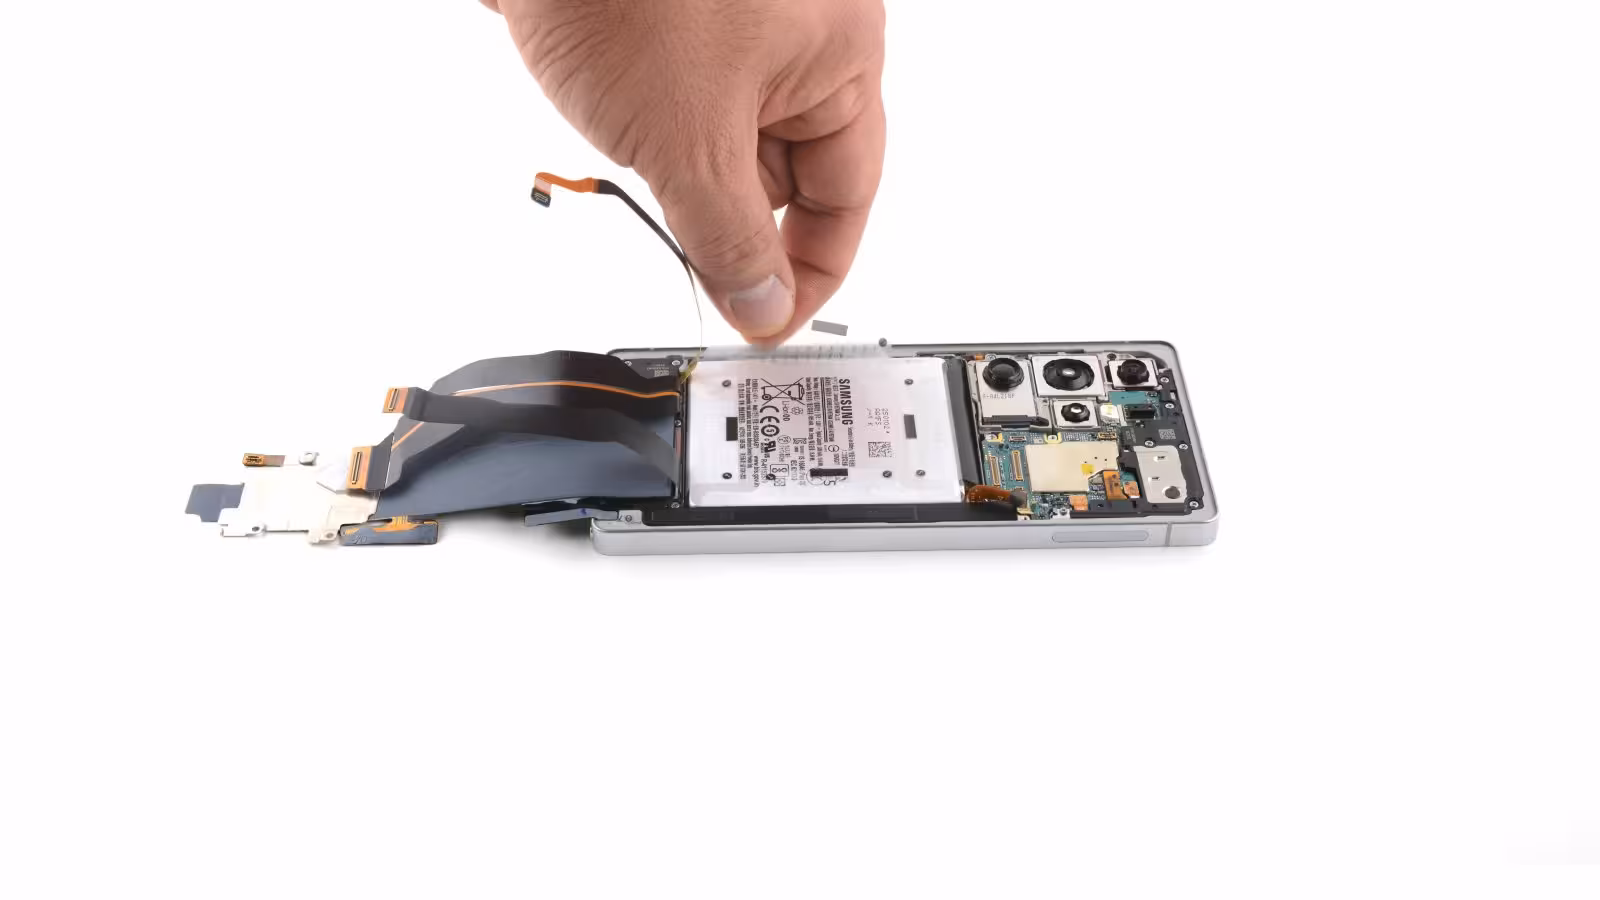
Stripping the Components
With the back off, we remove the wireless charging coil and the protective mid-frame plates. We then carefully disconnect the battery and the various ribbon cables connecting the motherboard to the screen assembly. Every single screw is mapped out, as mixing lengths can cause irreversible motherboard damage.
Removing the Broken Display
This is the most delicate step. We heat the front of the screen to soften the adhesive holding the display to the frame. The broken screen is then gently pried away, ensuring we do not damage the delicate metal housing or any surrounding sensors.
Sealing the New Screen
Before closing it up, the frame is thoroughly cleaned of old adhesive residue. We apply high-quality, pre-cut frame adhesive, test the new display to ensure colors and touch are perfect, and then reassemble the internal components, securing everything back in place.
Why DIYing the S25 Ultra is Tough
- Risk of Damage: One slip with a pry tool can slice right through sensitive internal flex cables.
- Water Resistance: Unless you use professional-grade seals and clamping methods, your phone will lose its factory water and dust resistance rating.
- Calibration: Modern Samsung screens often require specialized calibration to ensure the ultrasonic in-display fingerprint sensor works accurately after a replacement.
⚠️ A Note of Caution
The S25 Ultra is a highly complex piece of engineering. Working near the battery and display connectors carries real risks. If you aren't 100% comfortable, professional help is always the safer and cheaper choice compared to risking permanent damage to the logic board.
Need Help from the Pros?
We specialize in flagship Samsung display repairs. Whether you need a highly specific fix or general troubleshooting, get your phone back to looking brand new with our expert services.
Book a Brisbane repair in under 60 seconds.
Same-day service, genuine-grade parts, 12-month warranty. Walk-ins welcome at Paddington · Coorparoo · Calamvale.
Book a repair