Tips, repair guides, and honest advice from our Brisbane technicians — written for real people, not algorithms.
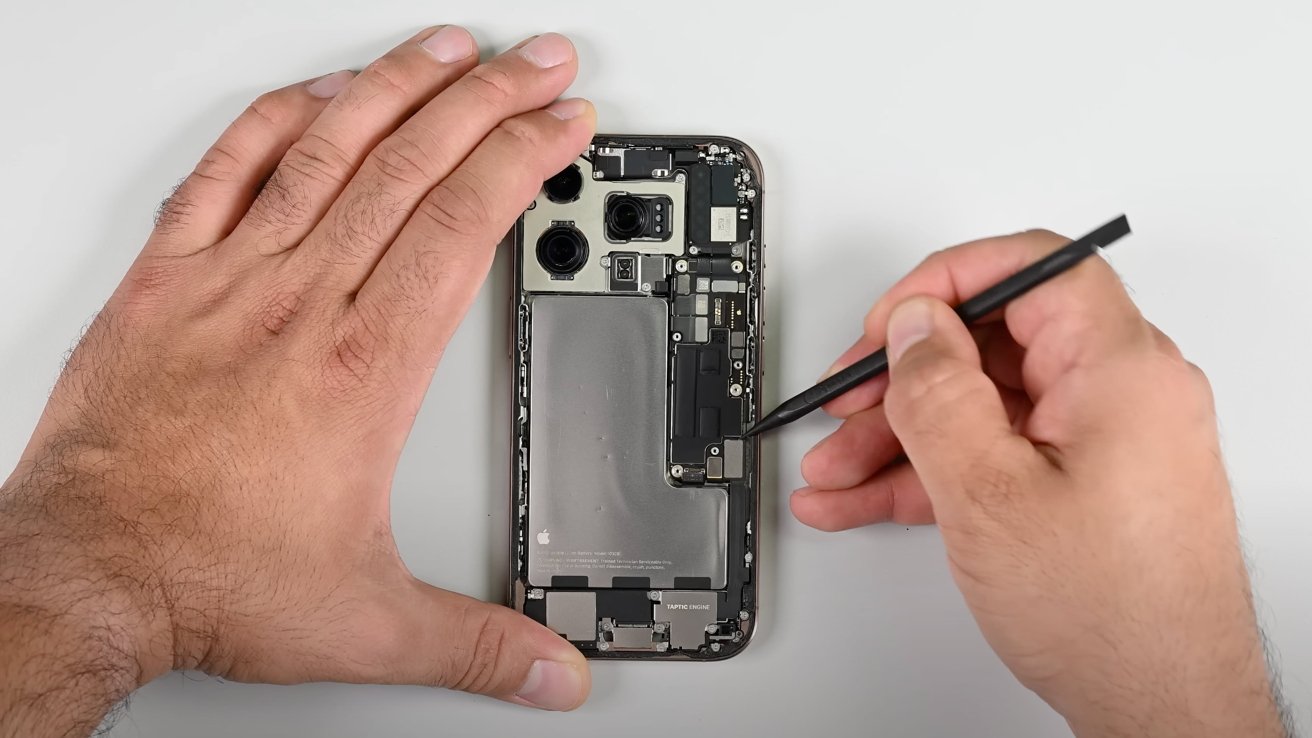
iPhone screen repair cost in Brisbane depends on your iPhone model, screen type, part quality, and the level of damage. This guide explains why prices vary, what common screen problems mean, and when repairing your cracked iPhone screen is the smarter choice.
20 articles
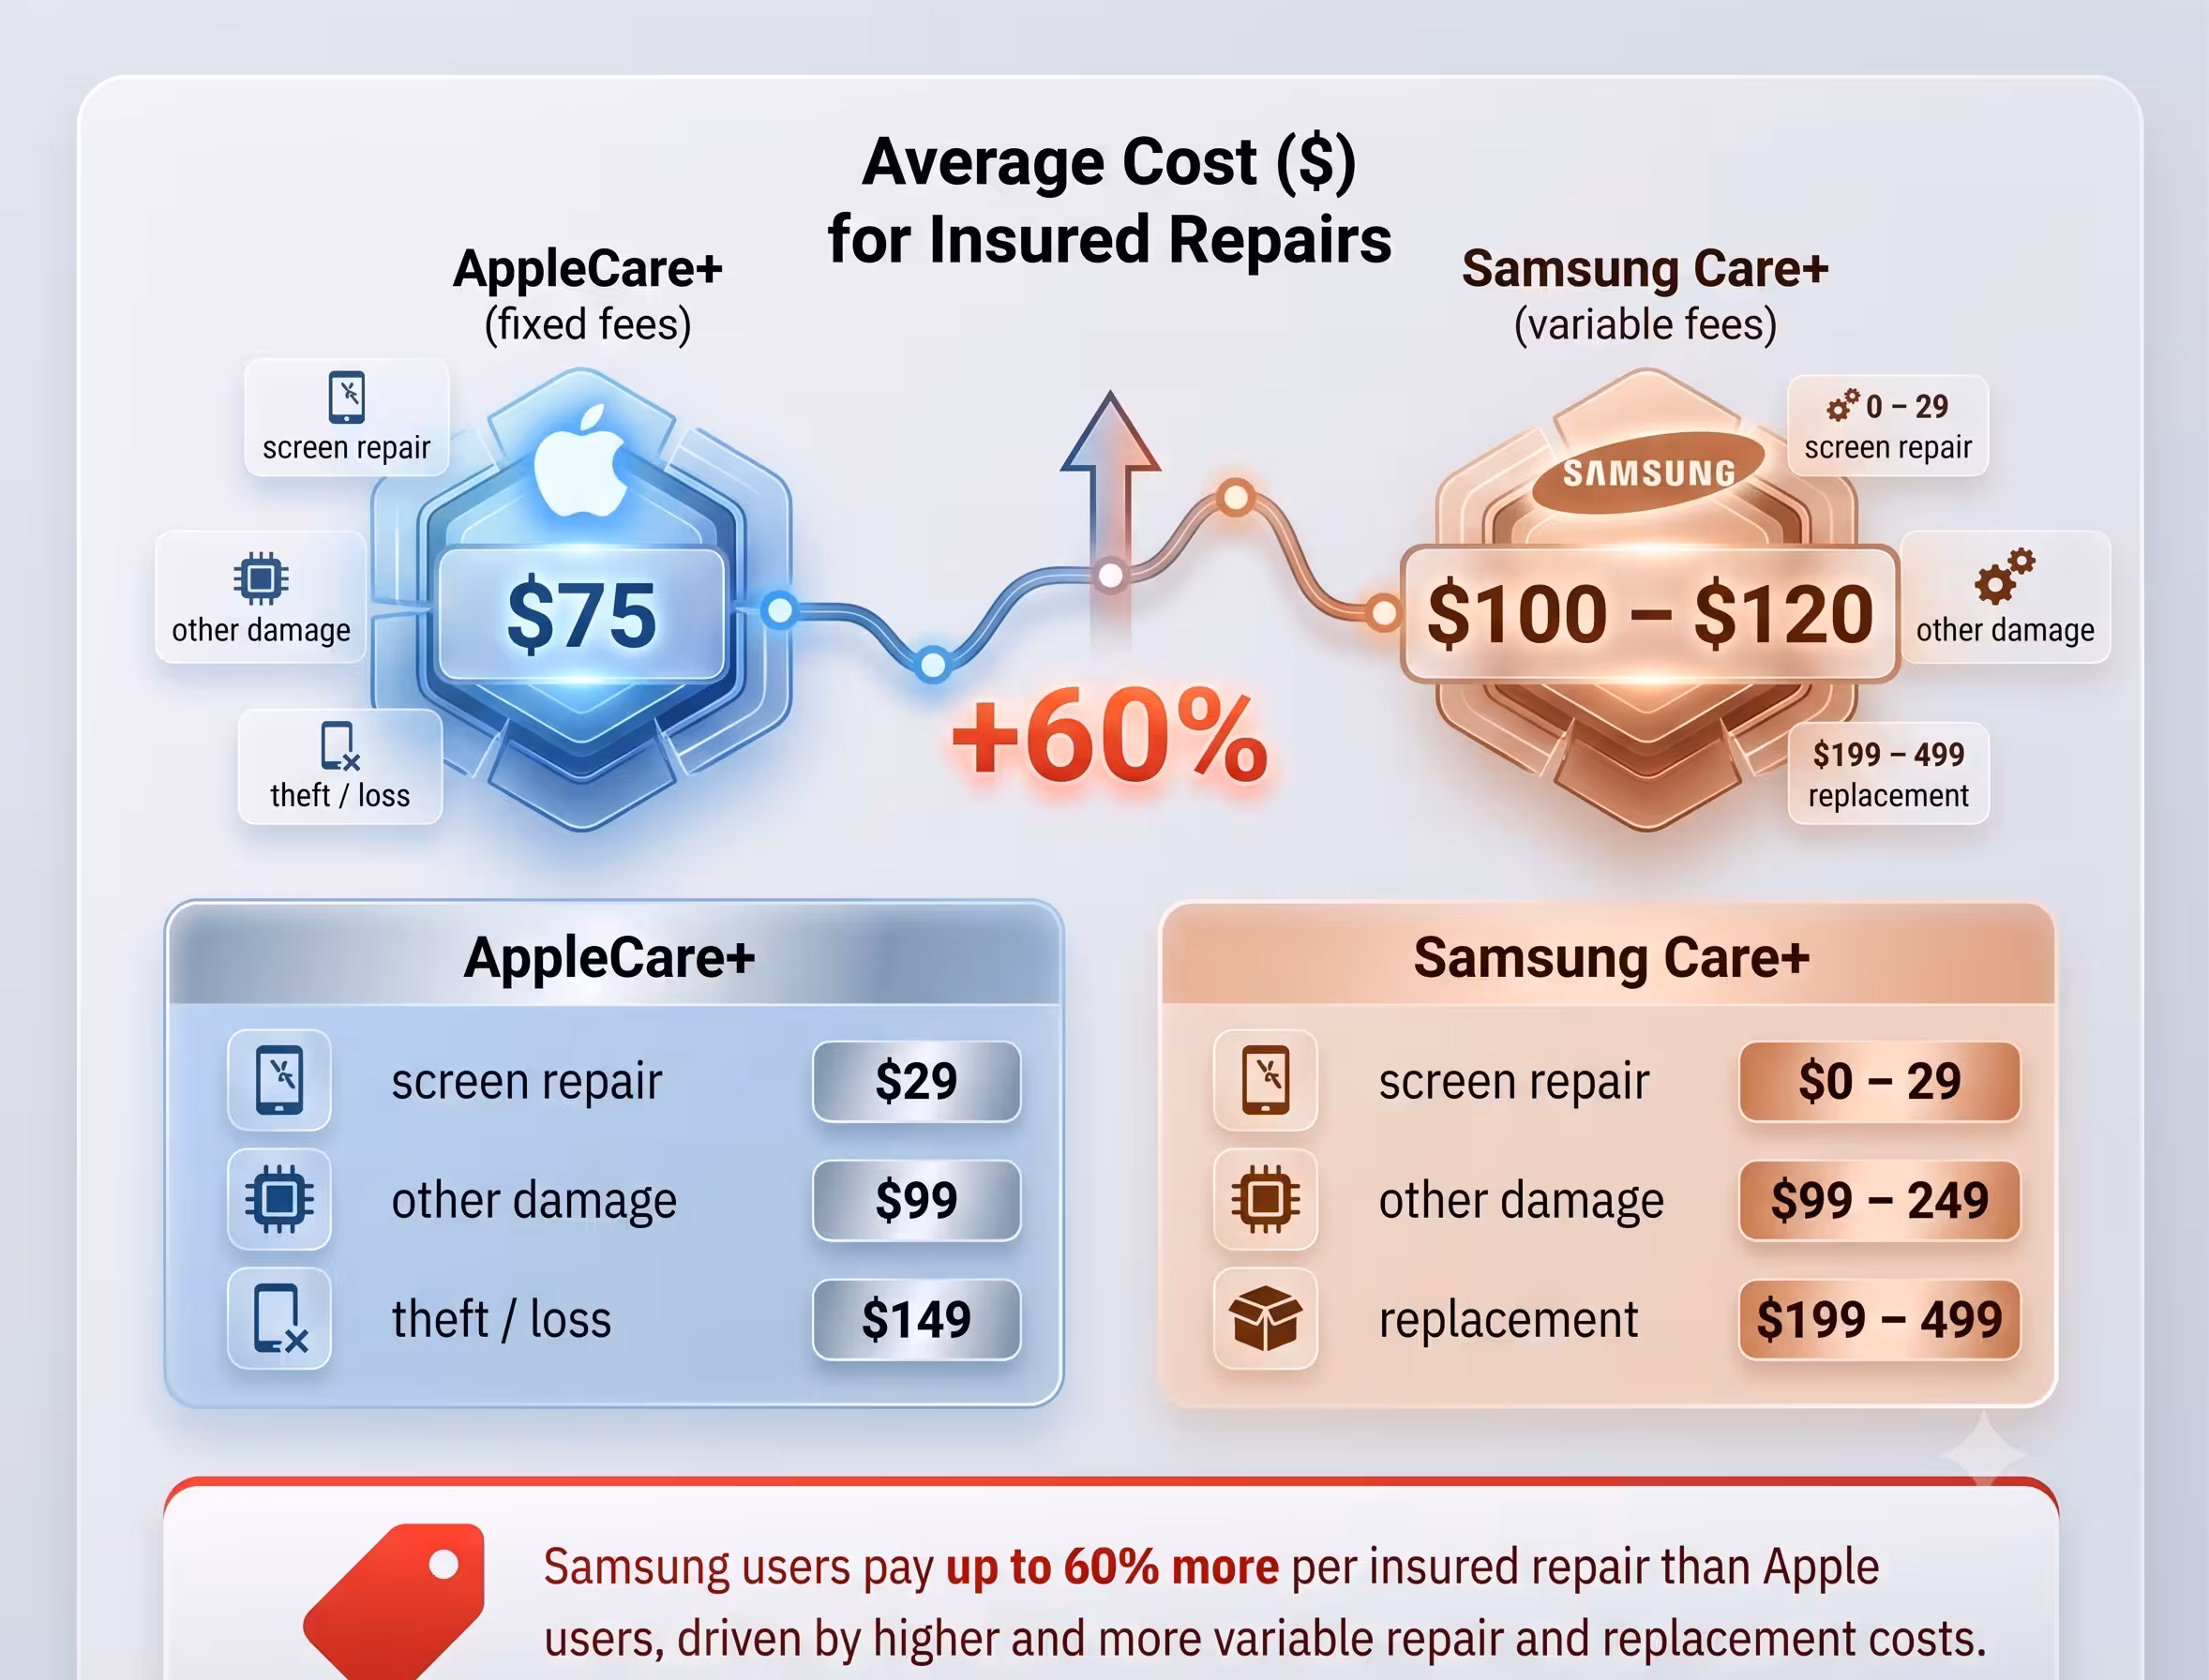
Wondering who pays more for phone repairs in 2025? While high-end Androids offer cutting-edge tech, recent data shows Samsung users pay up to 60% more per insured repair compared to Apple users. Apple’s predictable flat fees usually beat out the highly variable costs of Android replacements. Need a quick fix?
Seeing vertical or horizontal lines on your MacBook screen? Don't panic. This guide explains the most common causes, from software glitches and overheating to physical damage and the "Flexgate" ribbon cable issue. Learn how to diagnose the problem using simple troubleshooting steps and know when it's time for professional repair.
I checked your existing page topic and kept it focused on iPhone 13 Pro Max white/green screen issue and the soldering jumper method, but written in a more professional customer-friendly way instead of DIY-heavy wording

Your iPad battery may need replacing if it drains quickly, shuts down before 0%, charges slowly, gets hot, only works while plugged in, or shows a lifting screen from swelling. iRepair Experts offers free iPad diagnosis in Brisbane, upfront quotes, quality repairs, and a 12-month repair warranty.
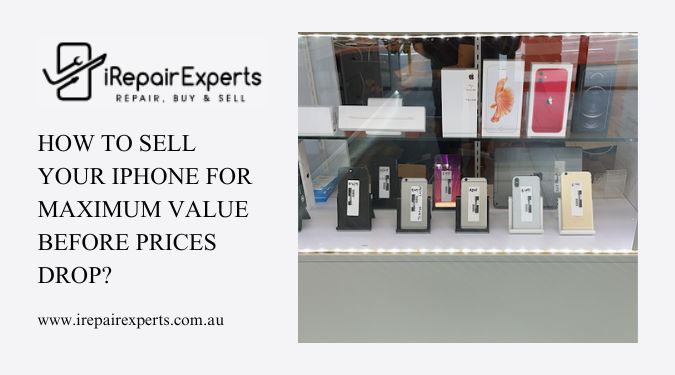
Sell your iPhone for maximum value before prices drop with expert sell my iPhone tips on timing, preparation, and smart selling strategies.

MacBook screen repair cost in Brisbane depends on the model, screen size, display type, damage level, and part quality. This guide explains what affects MacBook screen replacement pricing in 2026, common display problems, and when repairing your MacBook screen is worth it.

Fix your device early with expert Apple iPhone screen repair tips to prevent damage, save money, and maintain smooth performance.

A green or pink line on an iPhone screen after a drop usually points to internal display damage, especially on OLED iPhone models. This guide explains why the line appears, when it may get worse, what checks to do first, and when screen replacement is the right repair.
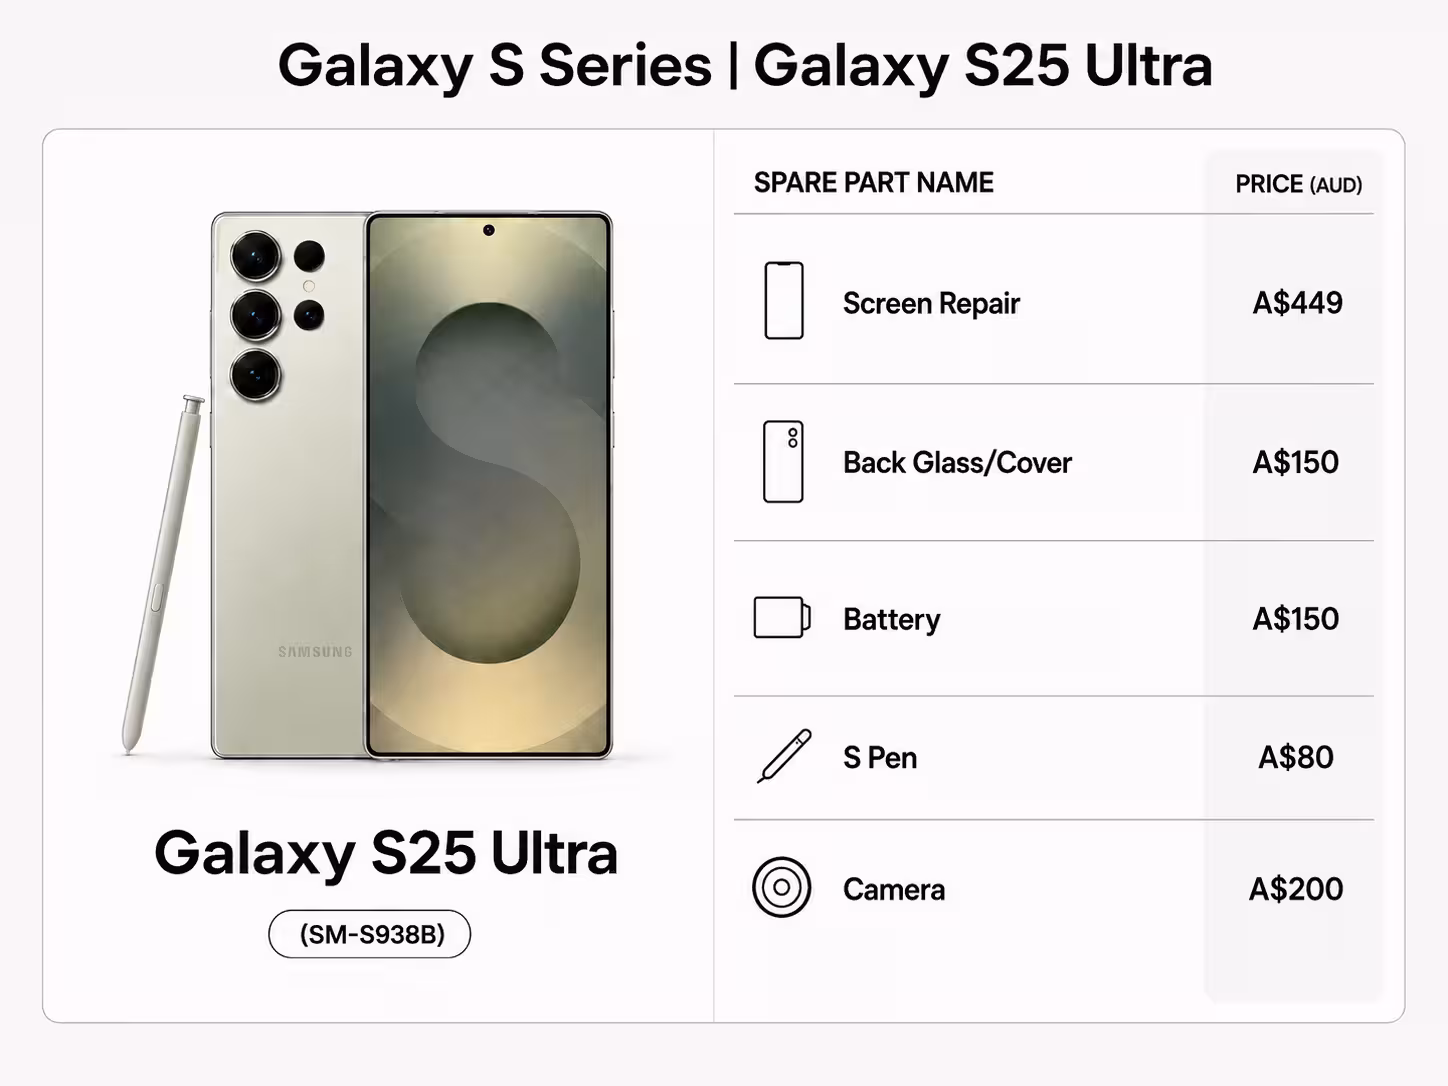
Samsung S25 Ultra screen repair cost starts from $449 in Brisbane. This guide explains why the S25 Ultra screen costs more than many other Galaxy models, what affects the final repair price, and when repairing the screen is better than replacing the phone.

Samsung Galaxy screen repair cost in 2026 depends on the model, screen type, and damage level. Learn what affects pricing and when repair is worth it.
Is your iPhone dying faster than usual? Random shutdowns? These could be signs your battery is failing. Learn the 5 key warning signs and what to do next.

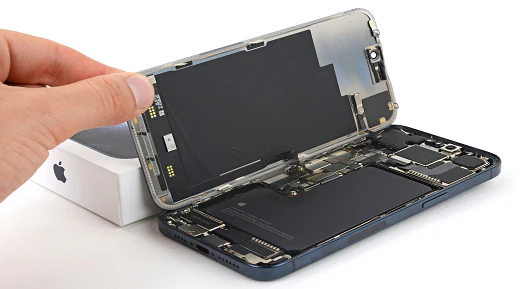
Why does your iPhone screen stop responding after damage? Learn how modern screen repairs restore smooth, accurate touch — and what can go wrong with cheap fixes.
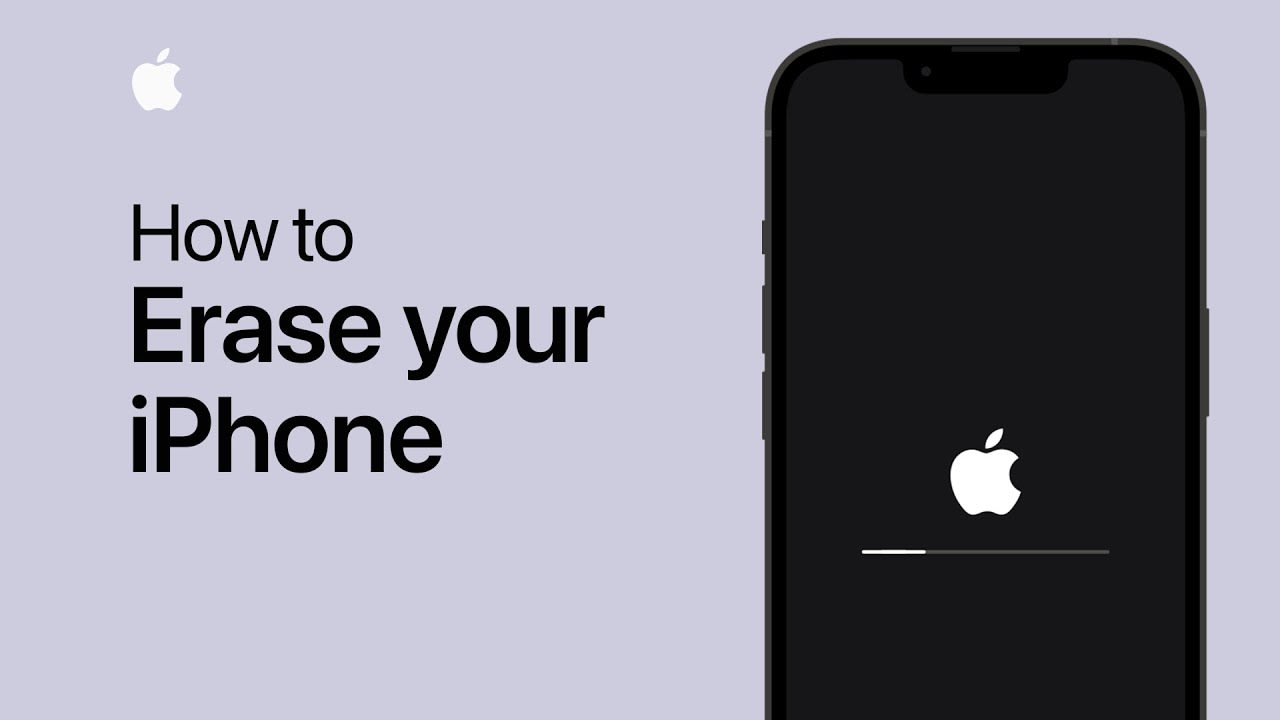
Need to factory reset your iPhone before selling or troubleshooting? Learn 3 proven methods to safely erase everything and start fresh.
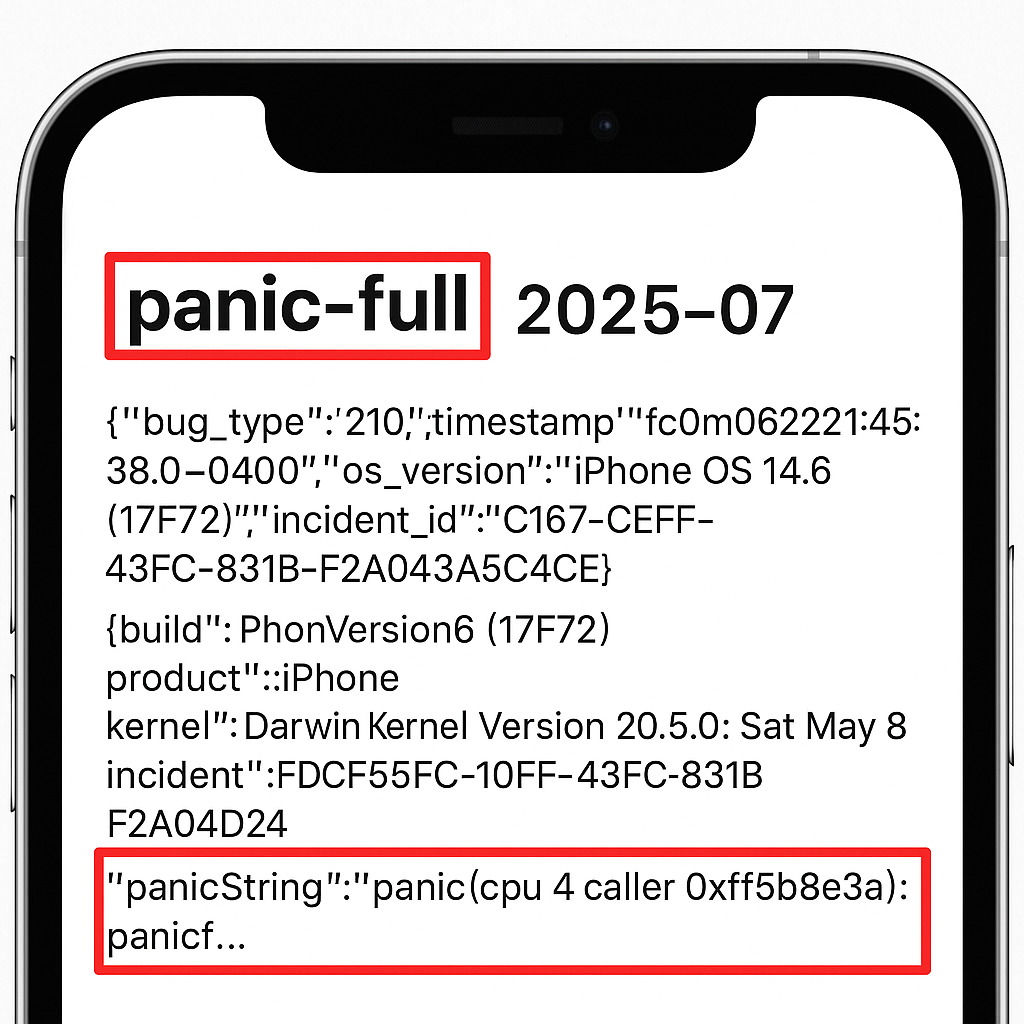
Is your iPhone restarting randomly? Learn how to use panic logs to diagnose crashes, identify error codes, and fix hardware or software issues. Complete troubleshooting guide with device-specific error codes.
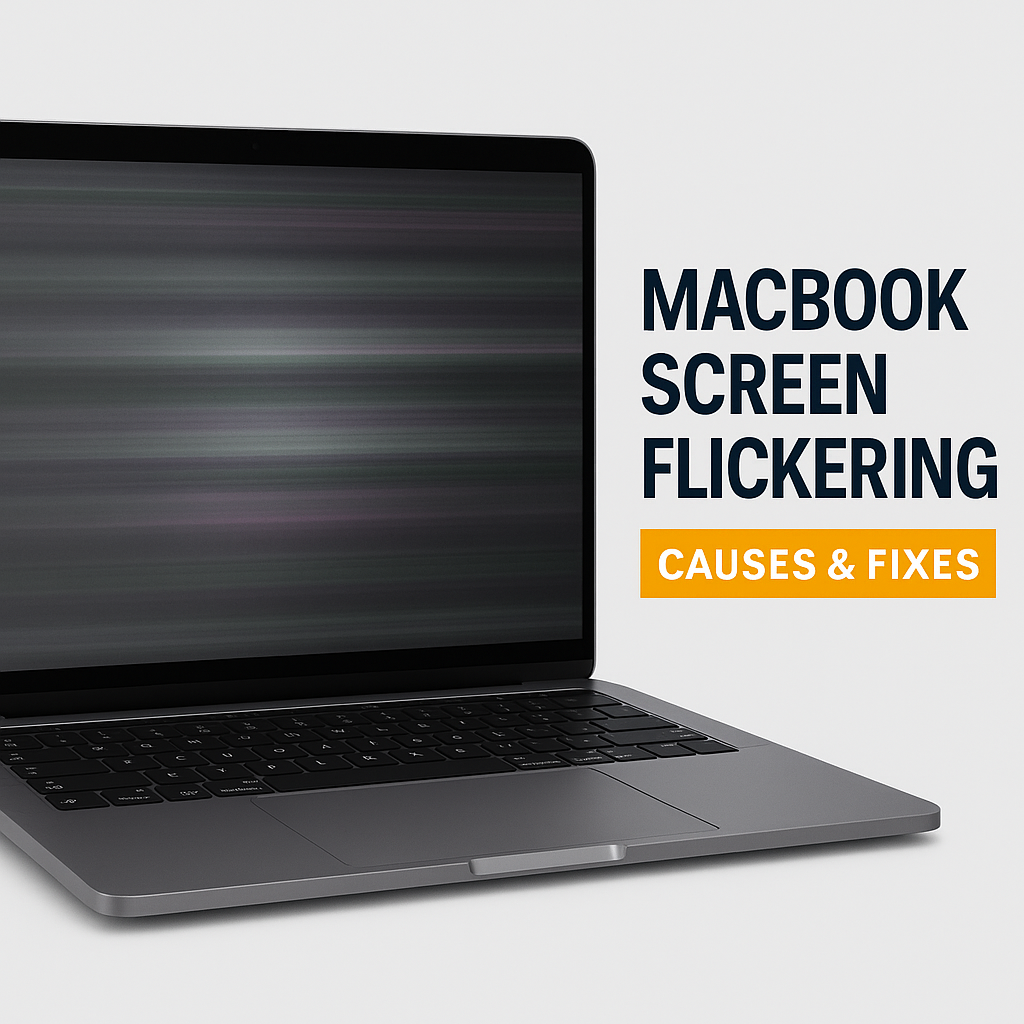
Dealing with a flickering MacBook screen? Learn the common causes and easy fixes. If it's hardware, get same-day MacBook screen repairs in Brisbane.
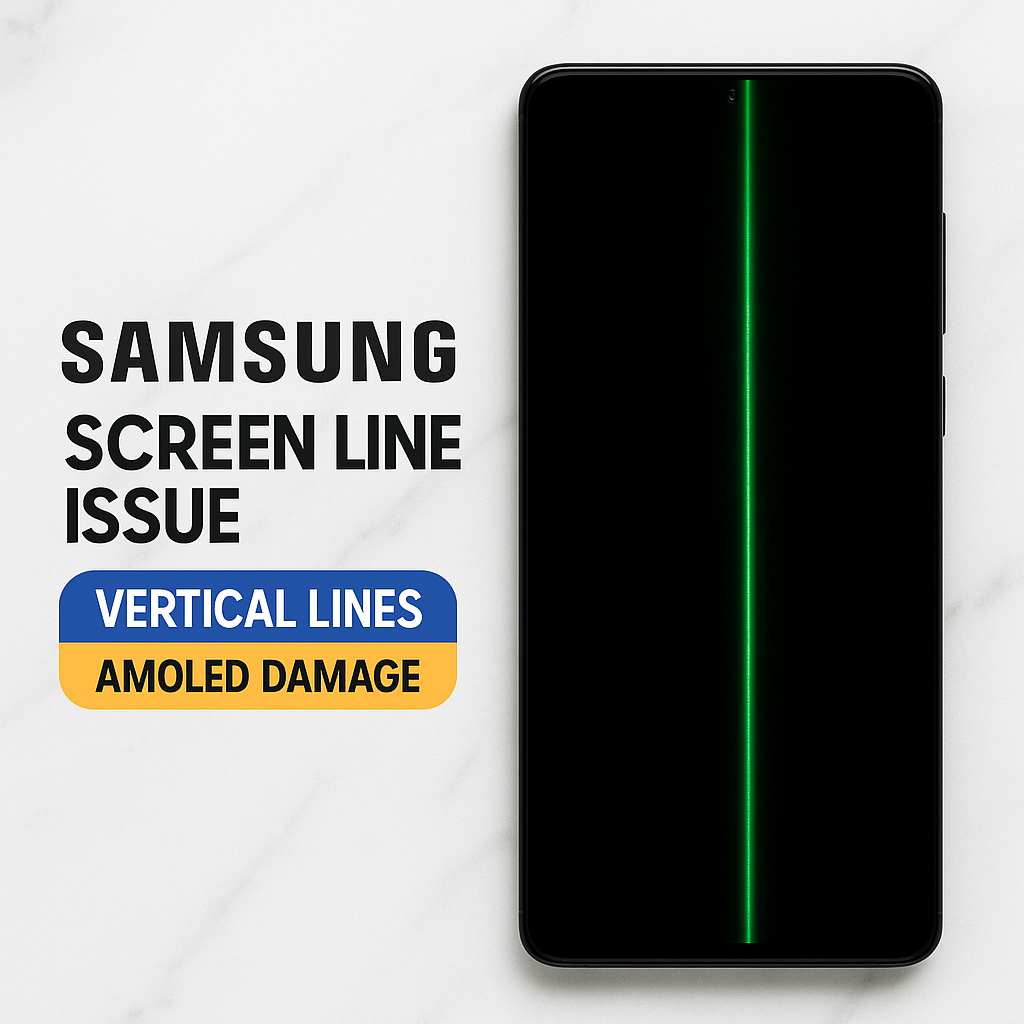
Seeing lines on your Samsung screen? Learn the causes and step-by-step fixes. From quick DIY checks to professional Samsung screen repair in Brisbane.

Is your Samsung phone getting hot? Learn the common causes of overheating, risks of ignoring it, and how expert repairs in Brisbane can solve the problem permanently.
Is your Google Pixel screen flickering? Learn the common causes, troubleshooting steps, and when to seek professional repair. Expert Pixel screen repair in Brisbane.
Cracked Google Pixel 9 Pro screen? Learn what screen damage looks like, first steps to take, when you need full replacement, and why quick repair matters.
Same-day slots
Book your repair